Basic Sourdough Loaf
Saturday April 19th 2025, 1:10 pm
Filed under: Recipes

There are a lot of commonalities between sourdough recipes, but everyone has their own take. For a basic loaf, here’s my favorite recipe so far. It’s adapted from Clever Carrot’s Beginner’s Guide. Basically their ingredients with my instructions.

Note that this recipe requires a lot of starter, so making it means I need to double the proportions I use in a typical feeding to 100g starter/100g flour/100g water. It’s ok if you don’t have the full amount of starter for feeding, but you want to end up with at least 200g at the end, so you may need to further increase flour and water if you’re short.

Ingredients

  • 250g water
  • 150g active (bubbly, risen, recently fed) sourdough starter
  • 25g olive oil
  • 500g flour
  • 10g fine salt (I use pink Himalayan, but sea salt also works well)

Instructions

  1. Combine the first three ingredients in a large bowl. Mix it with a fork until completely combined
  2. Add the flour and salt, mixing with clean hands until fully combined into a dry, shaggy dough
  3. Cover the bowl with plastic wrap or a damp kitchen towel and let it sit for at least 30 minutes, preferably 60. This is the autolyse stage, which moisturizes the flour and helps the bread improve its structure. Yes, it’s ok to add the salt before this stage but you can wait to add it if you really want
  4. Stretch and fold. Once the dough has completed the autolyse step, uncover the bowl and pick up the far corner of the dough and fold it over itself. Turn the bowl 90 degrees and repeat. Do two more times. Your dough will be tall and stacked up in layers. This step improves the bread’s structure
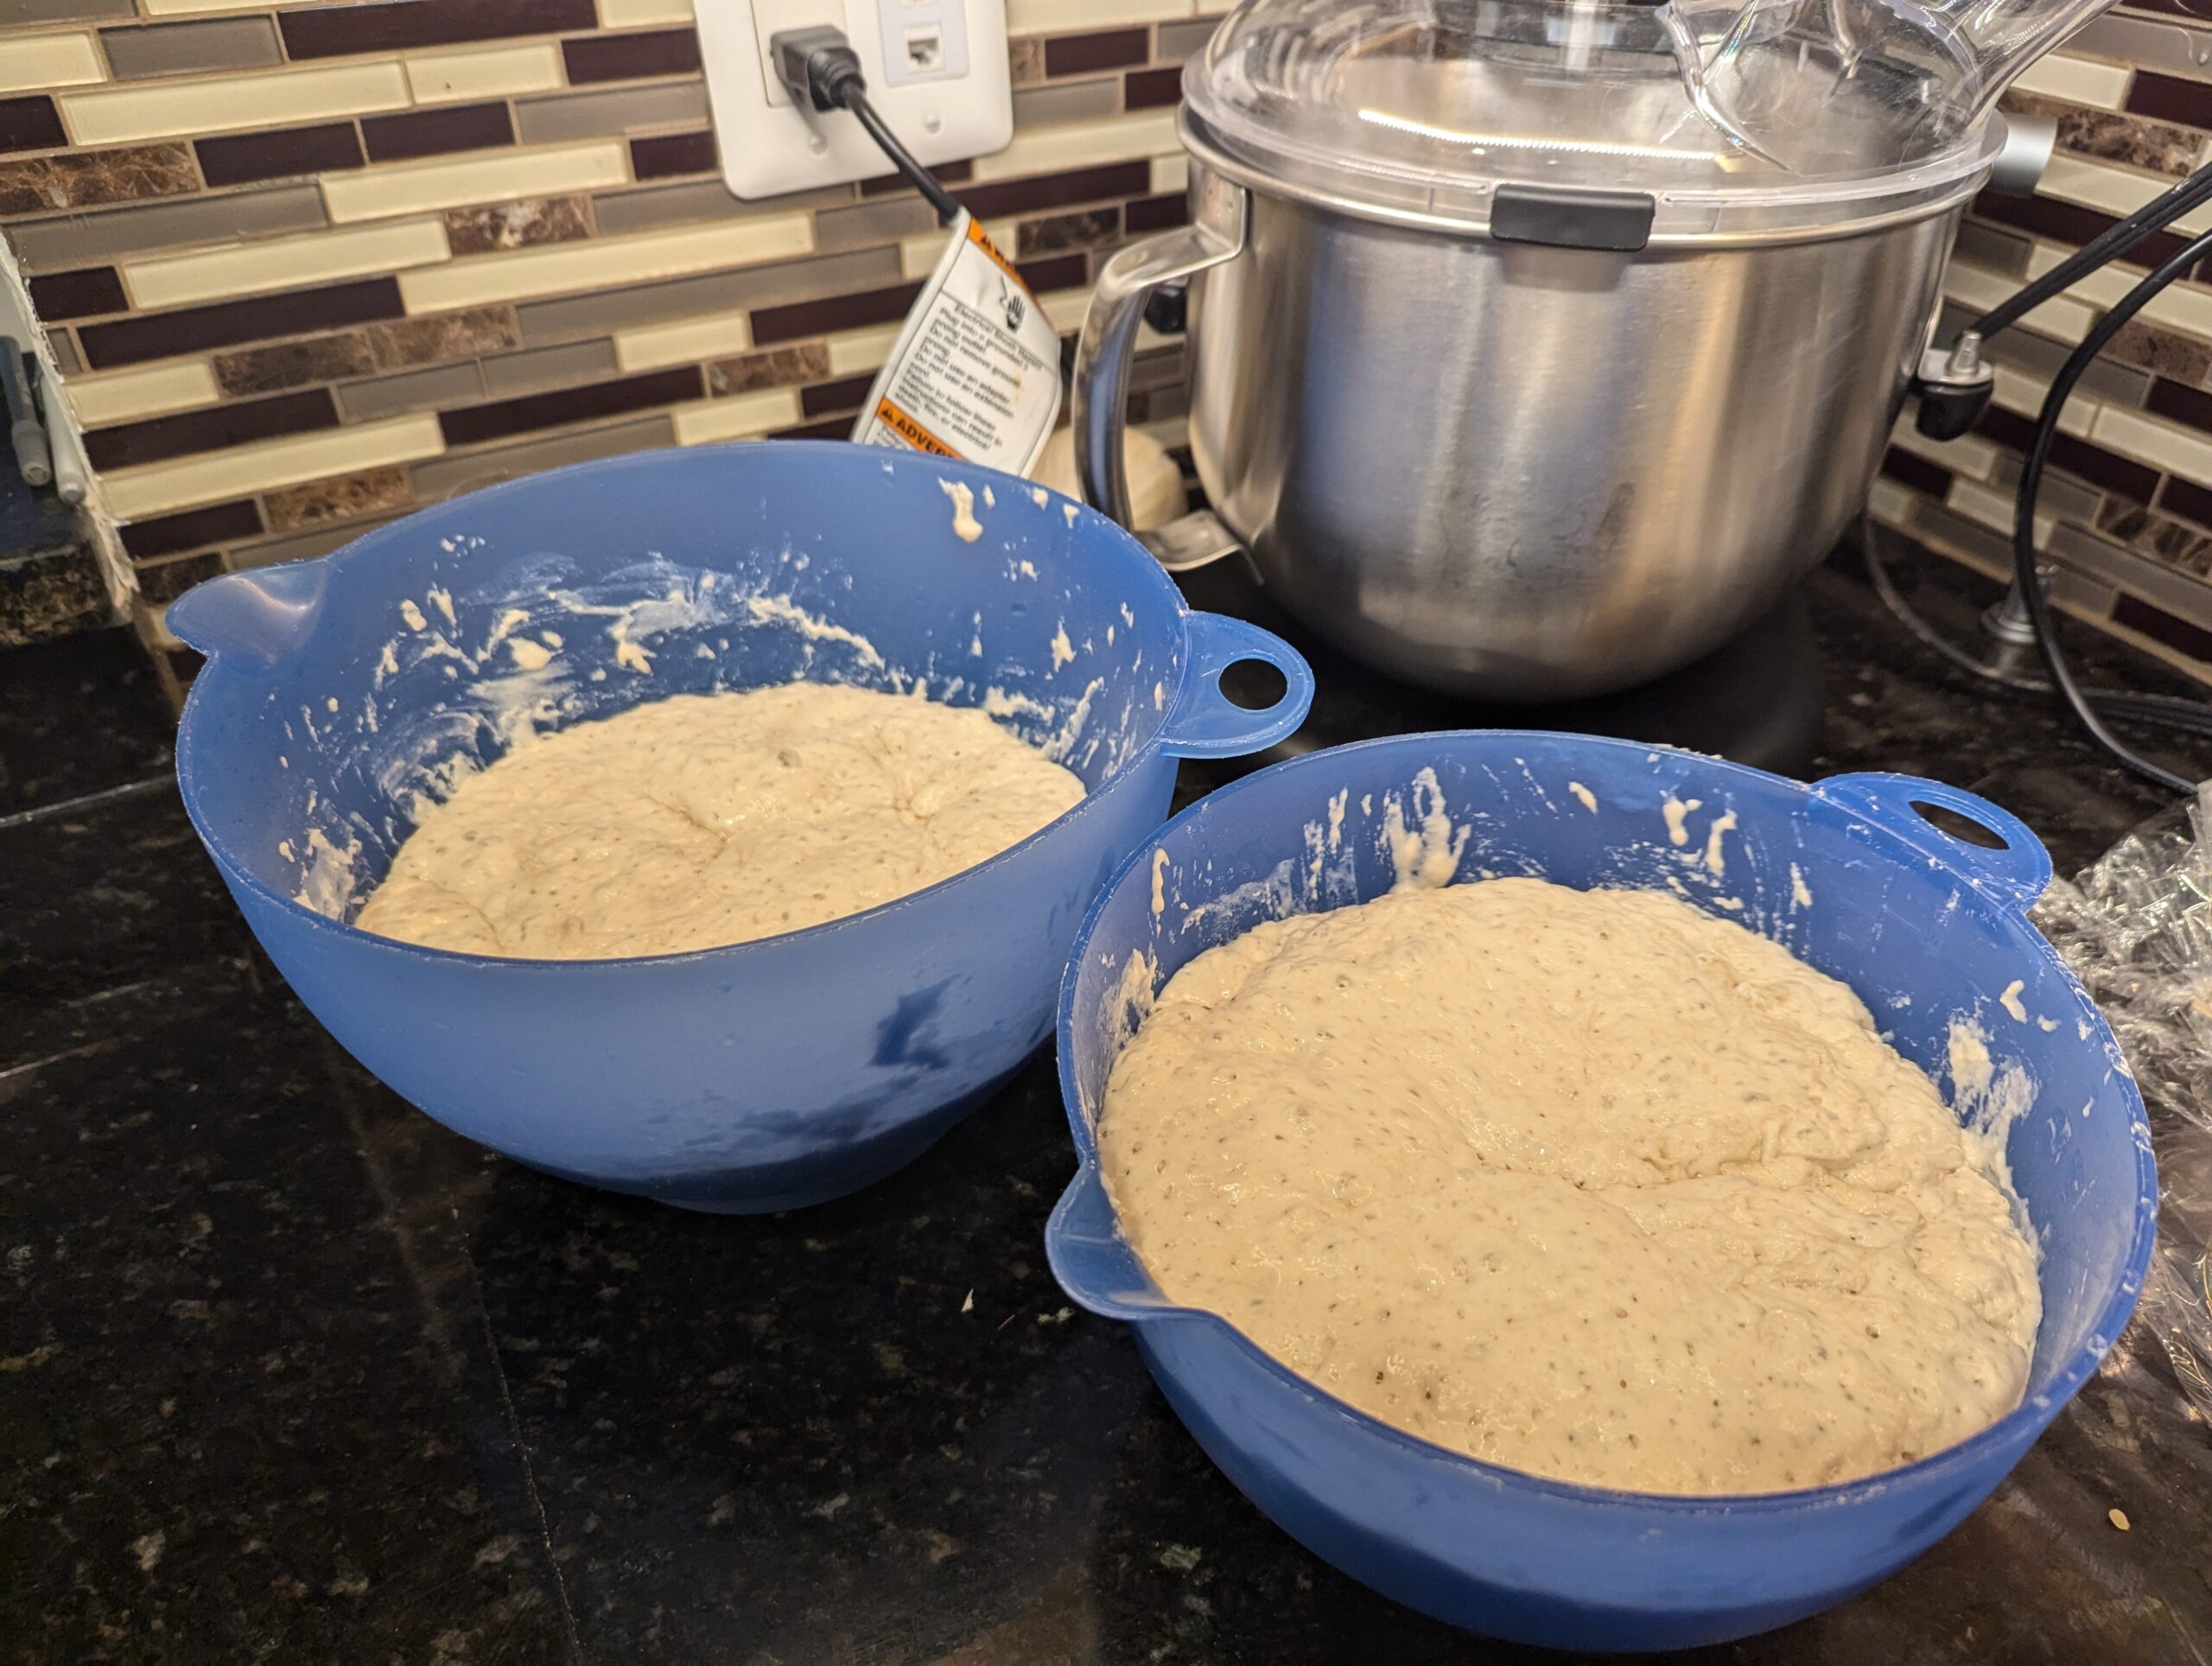
  5. Cover with a wet towel and let rise in a warm place for 30 minutes. I use my oven set to 100ºF (bread proof mode)
  6. Repeat steps 4-5 until you’ve done three rounds of stretch and folds
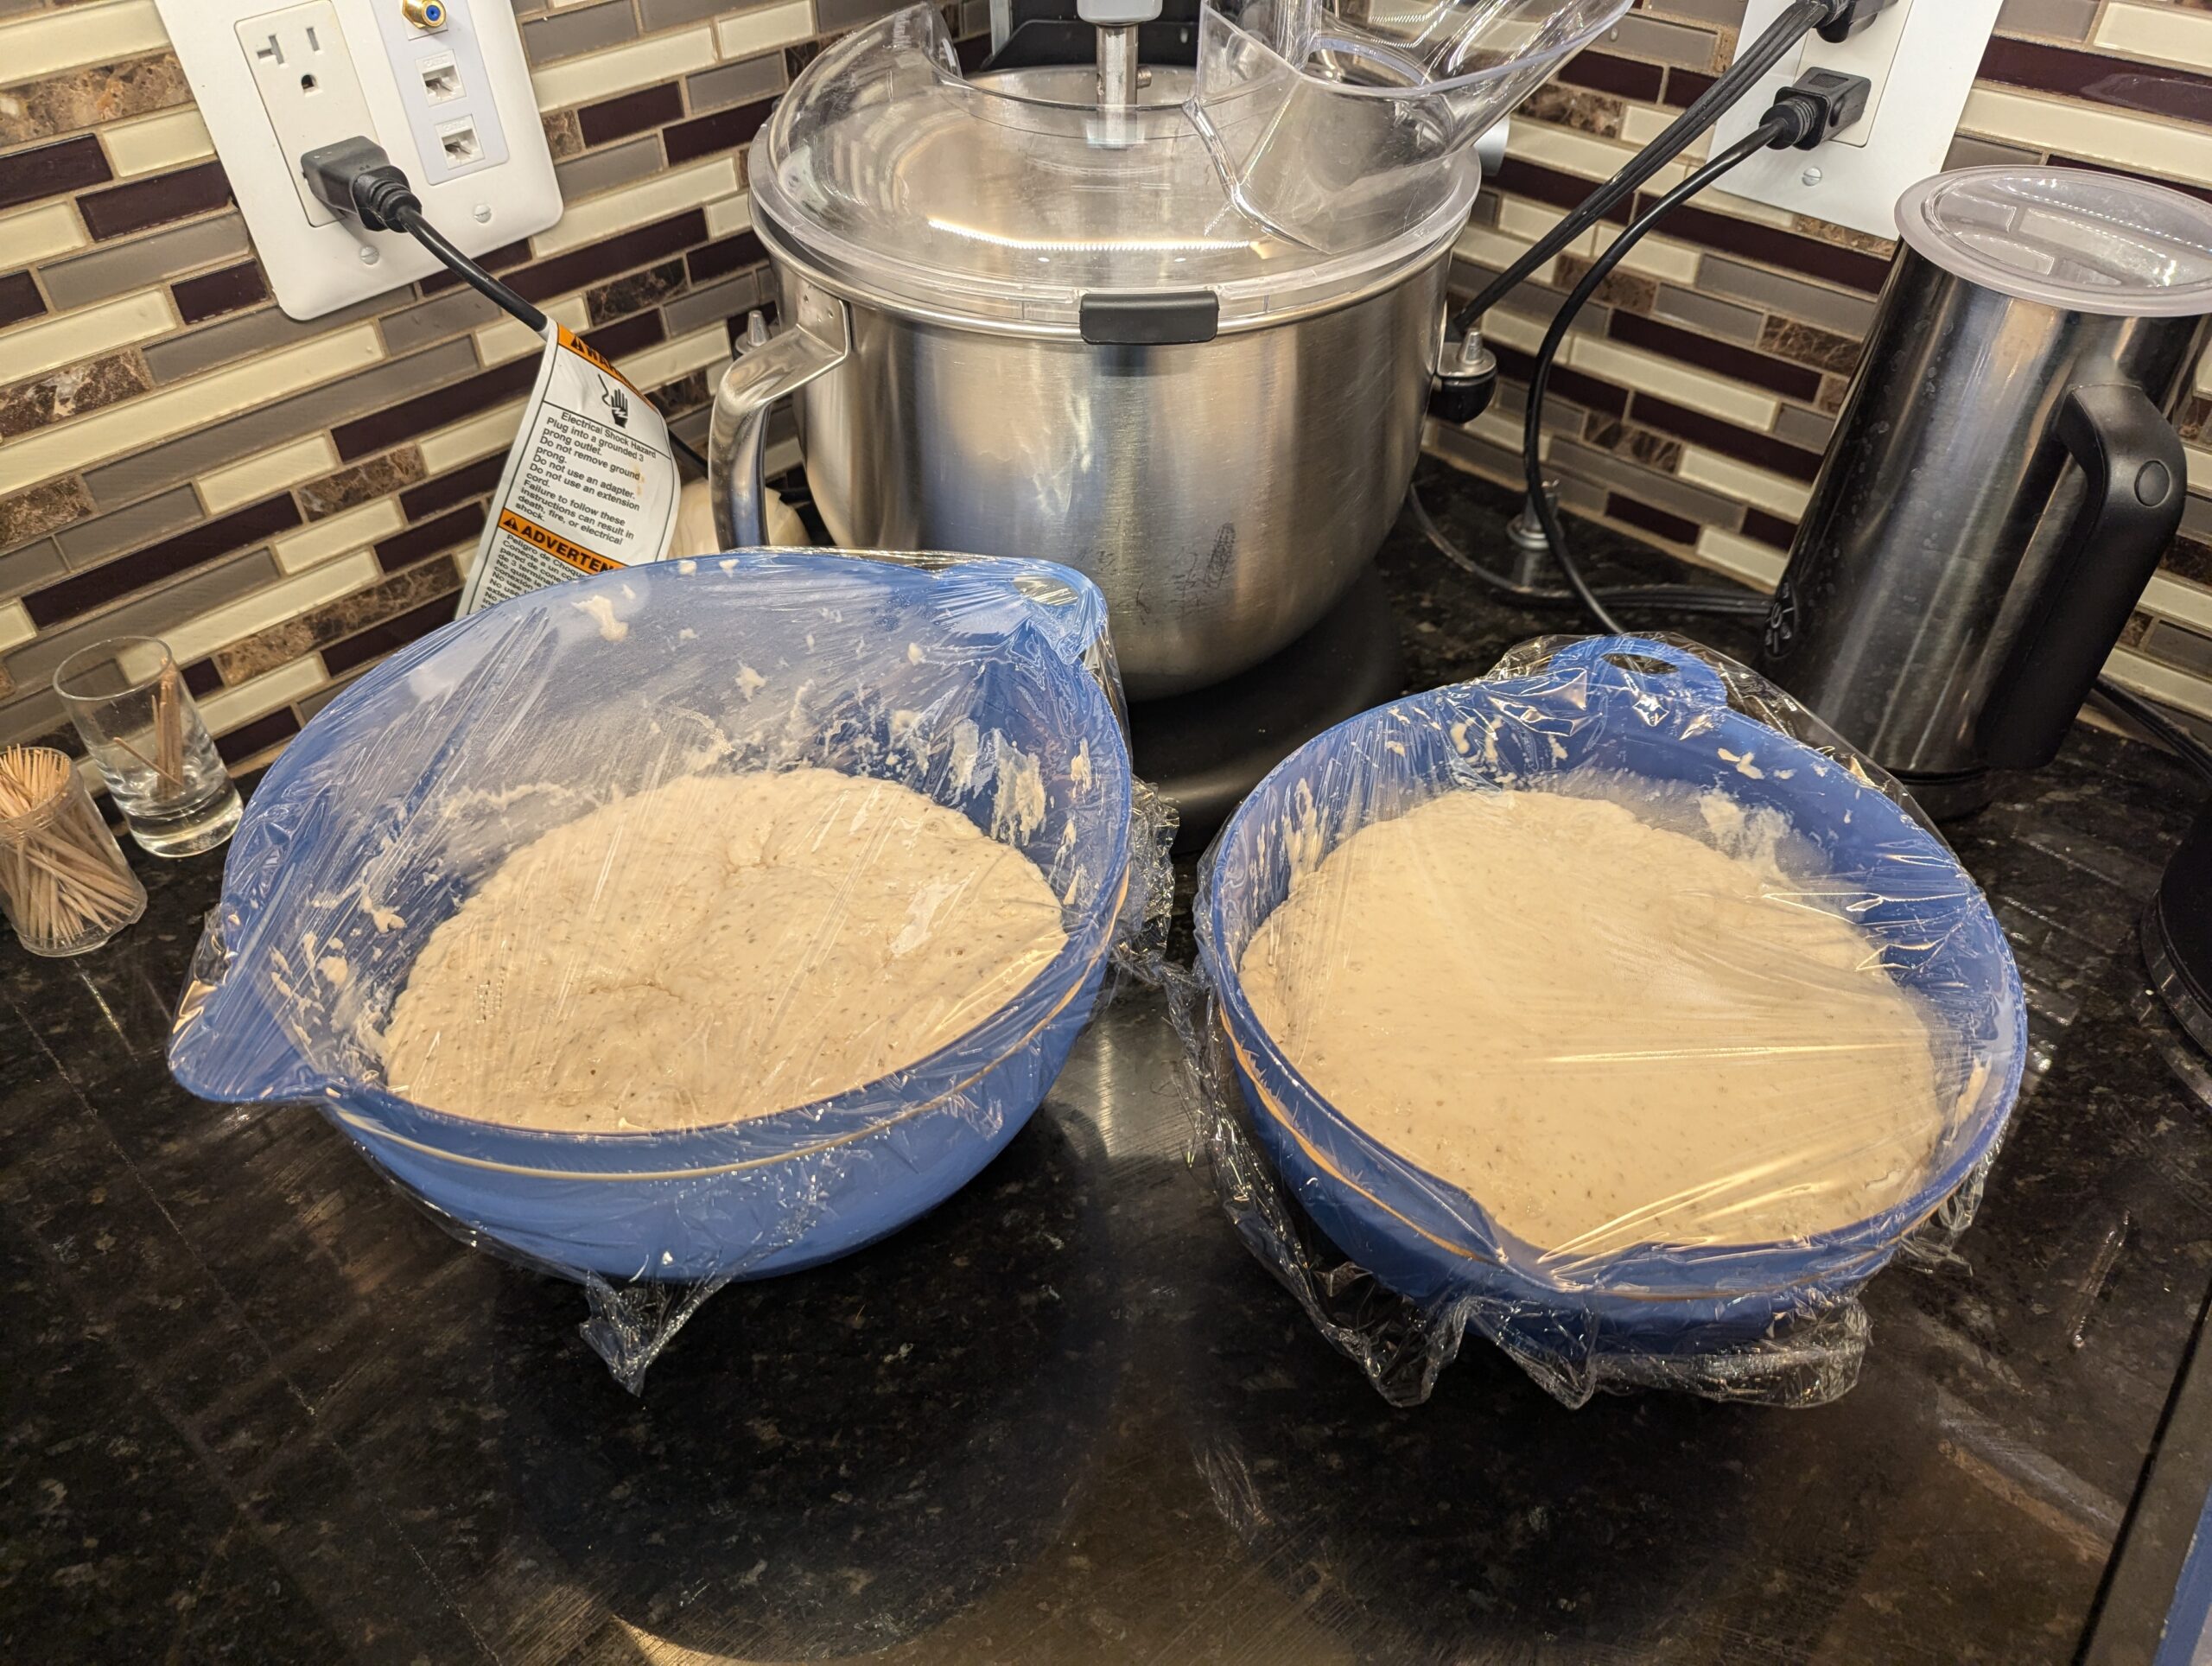
  7. Let the dough rise until doubled in size in the warm place covered by a damp towel. I usually do 3 hours including the stretch and fold time in the 100ºF oven. It will take longer in a cooler environment
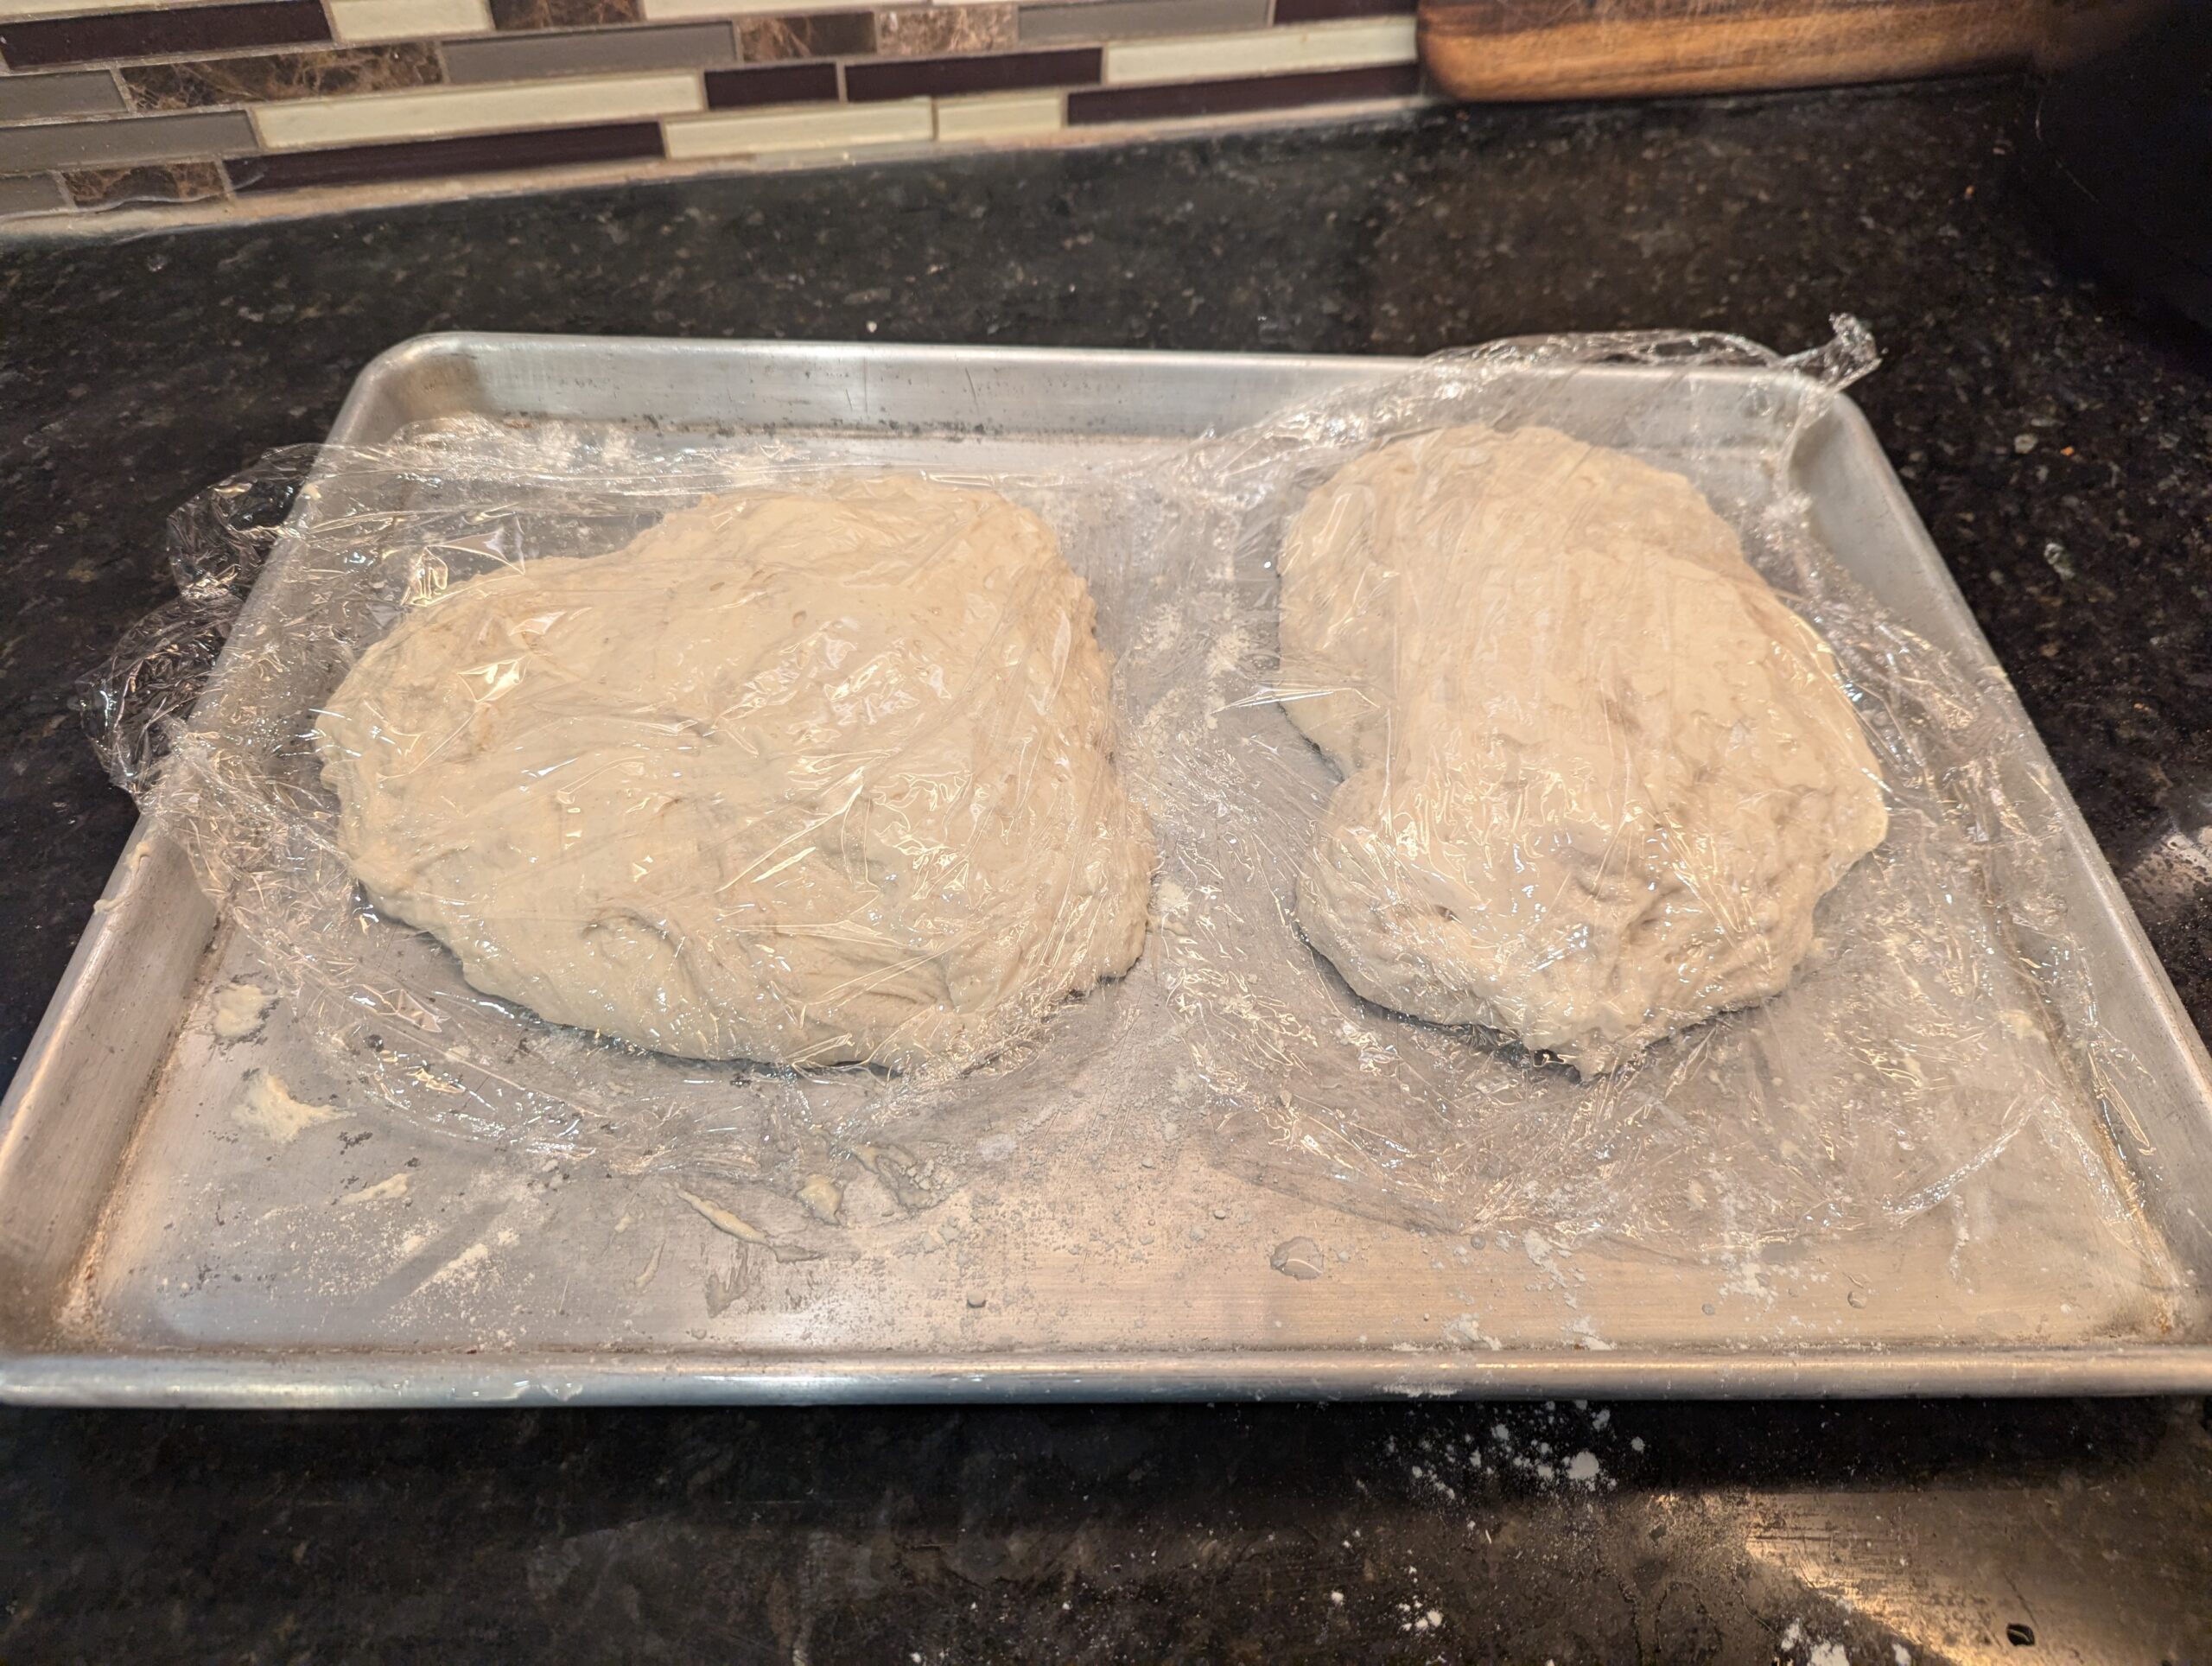
  8. Lightly flour a counter and dump the dough on the counter. You may need to use your fingers to loosen it from the bowl. Do another stretch and fold (#4) and slightly slide it around on the counter so that it is loosened and any seams on the bottom are sealed
  9. Put the towel on the bottom of the bowl and lightly flour it
  10. Pick the loaf up and put it in the bowl
  11. Cover the bowl and put it in the refrigerator for 8-24 hours. I recommend overnight. I use a plastic trashbag slid over the bowl and sitting on the excess to seal it in
  12. The next day, remove the bread from the fridge and put it on the counter
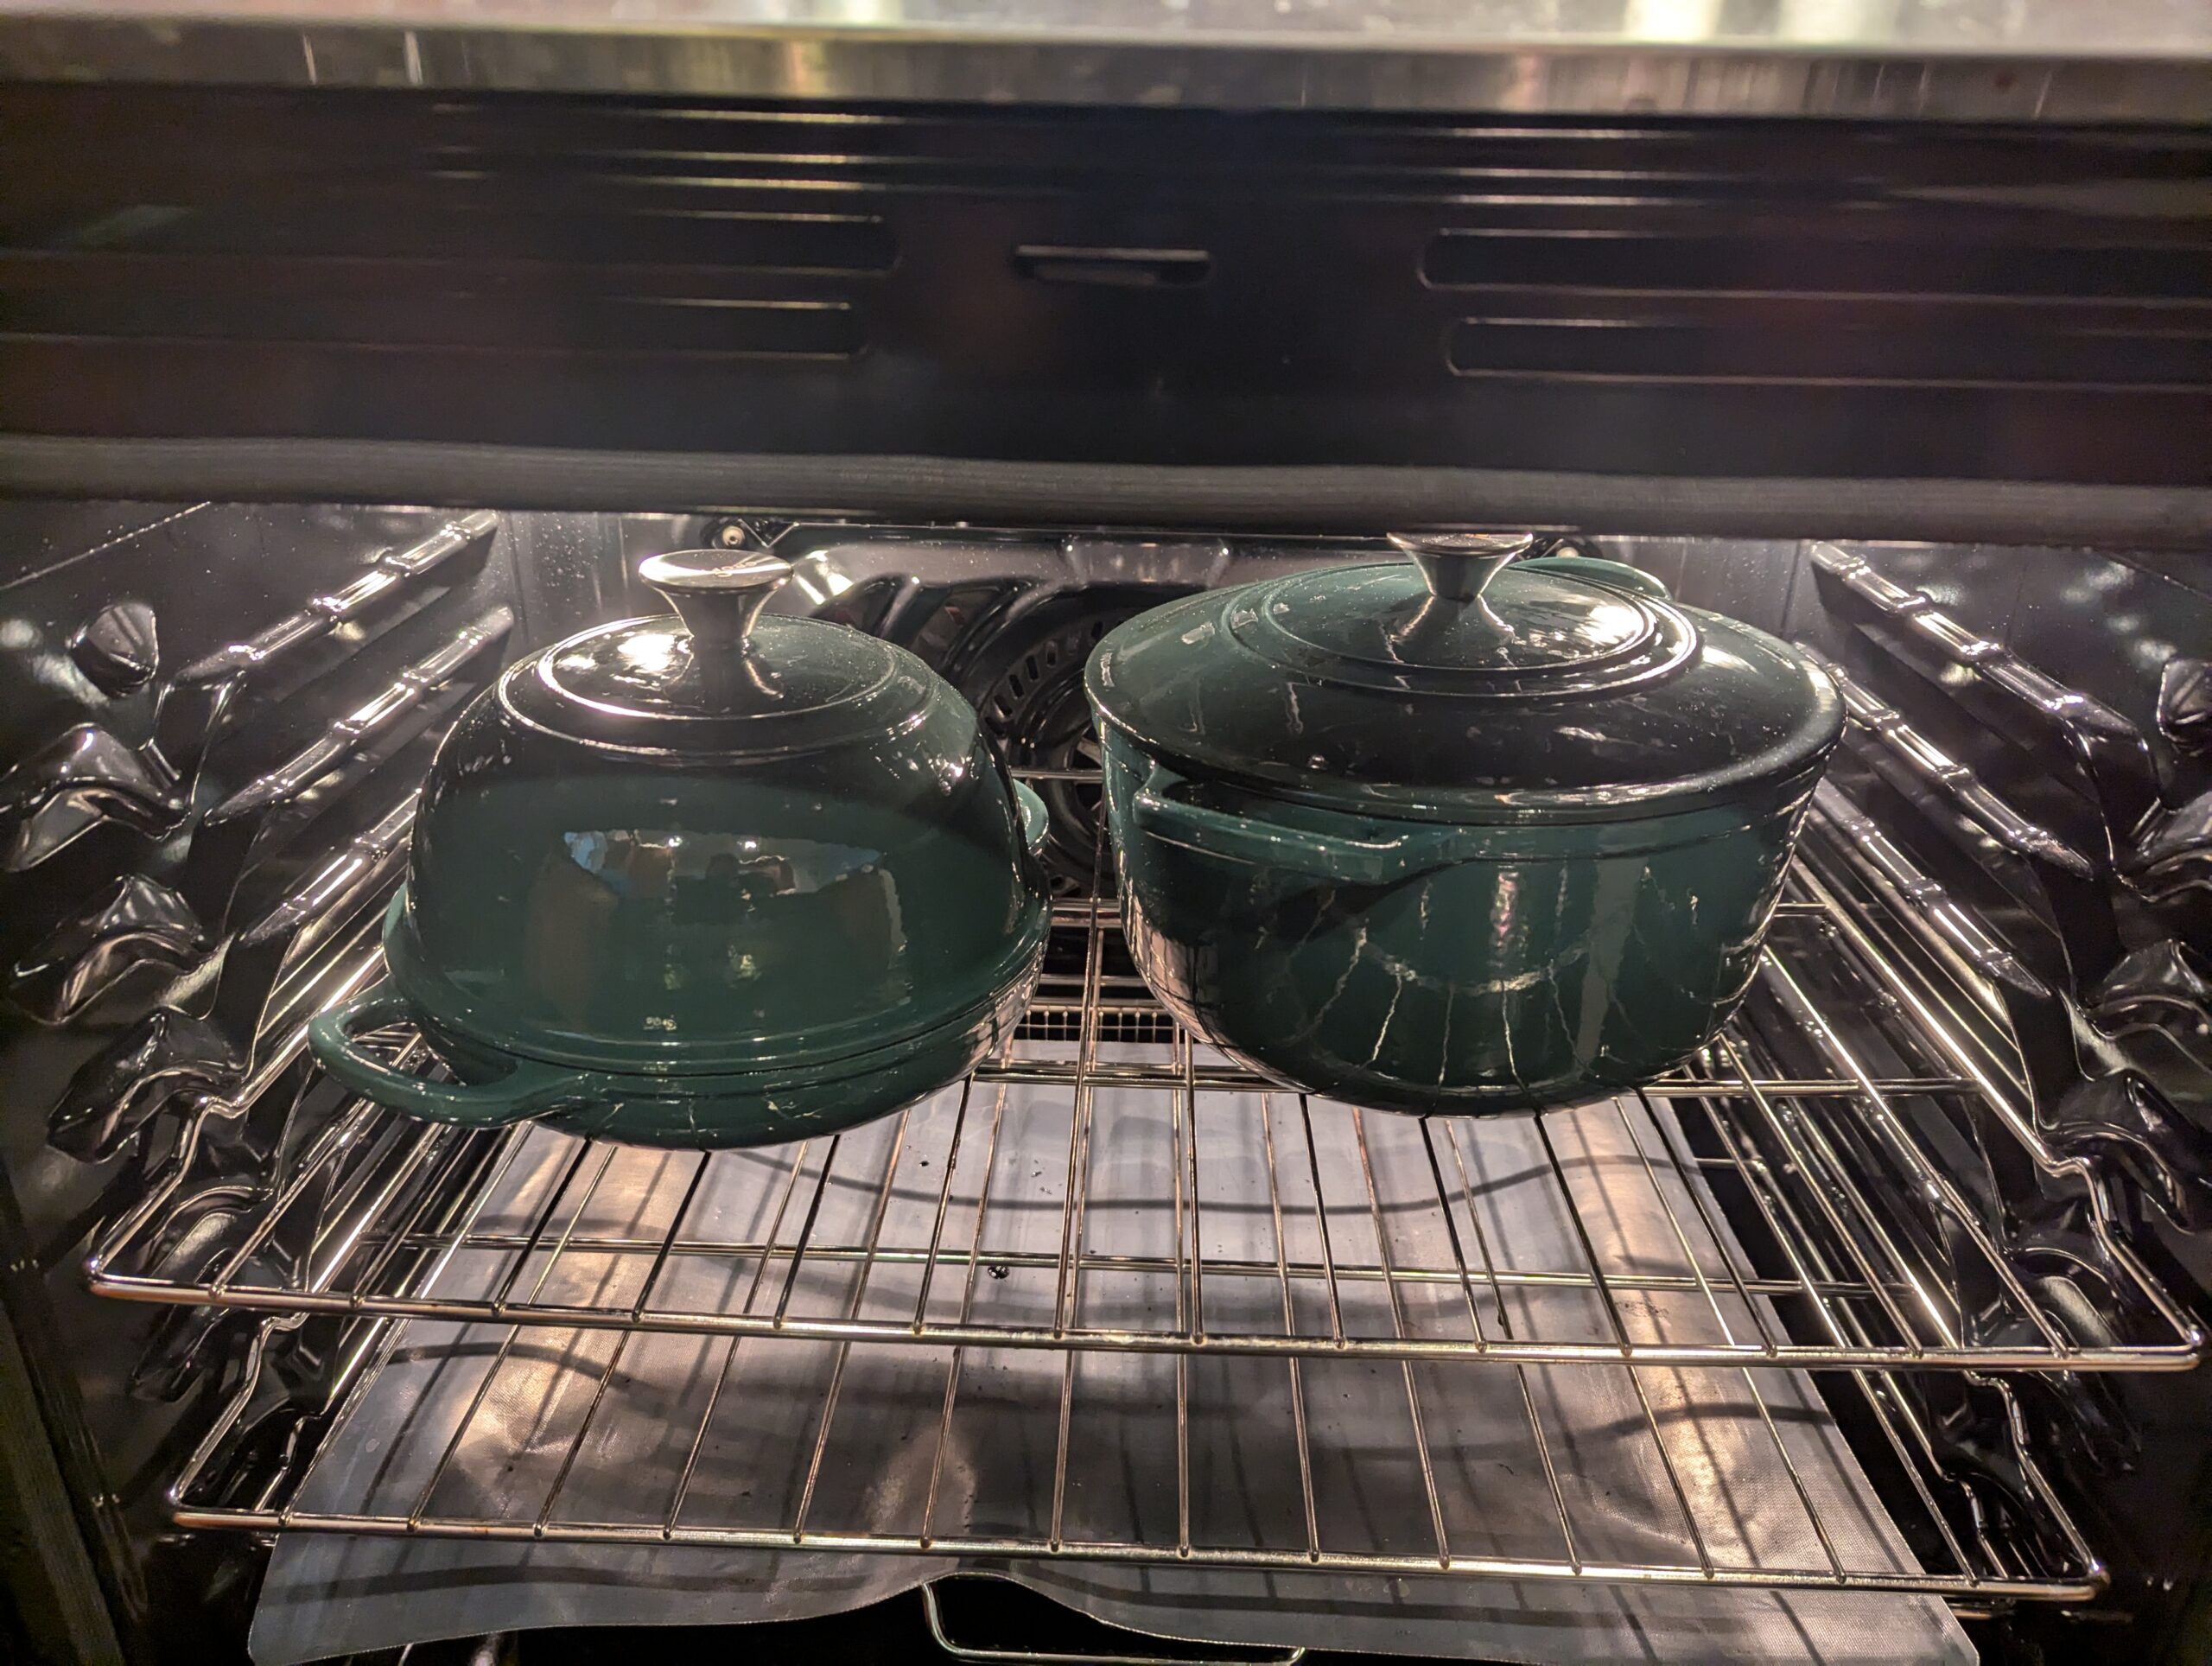
  13. Put an oven safe pot, like a cast iron Dutch oven with an oven-safe lid in the oven and preheat it to 450ºF for at least 15 minutes past the oven hitting temperature. Many just set the timer for an hour when they put the pot in the oven. Use the convection bake setting, if your oven has one
  14. Prepare a sheet of parchment paper that’s long enough to use the ends to easily place and remove the bread from the pot
  15. For a crispier crust, have 4-6 ice cubes ready
  16. Remove the preheated pot, place the parchment inside, then the bread, and use a very sharp or serrated knife to cut a 1″ deep cut across the loaf. Slightly curve it to be fancy
  17. Tuck half the ice on either side of the loaf under the parchment. Place the lid on and return to oven
  18. Reduce temperature to 400ºF and bake for 20 minutes
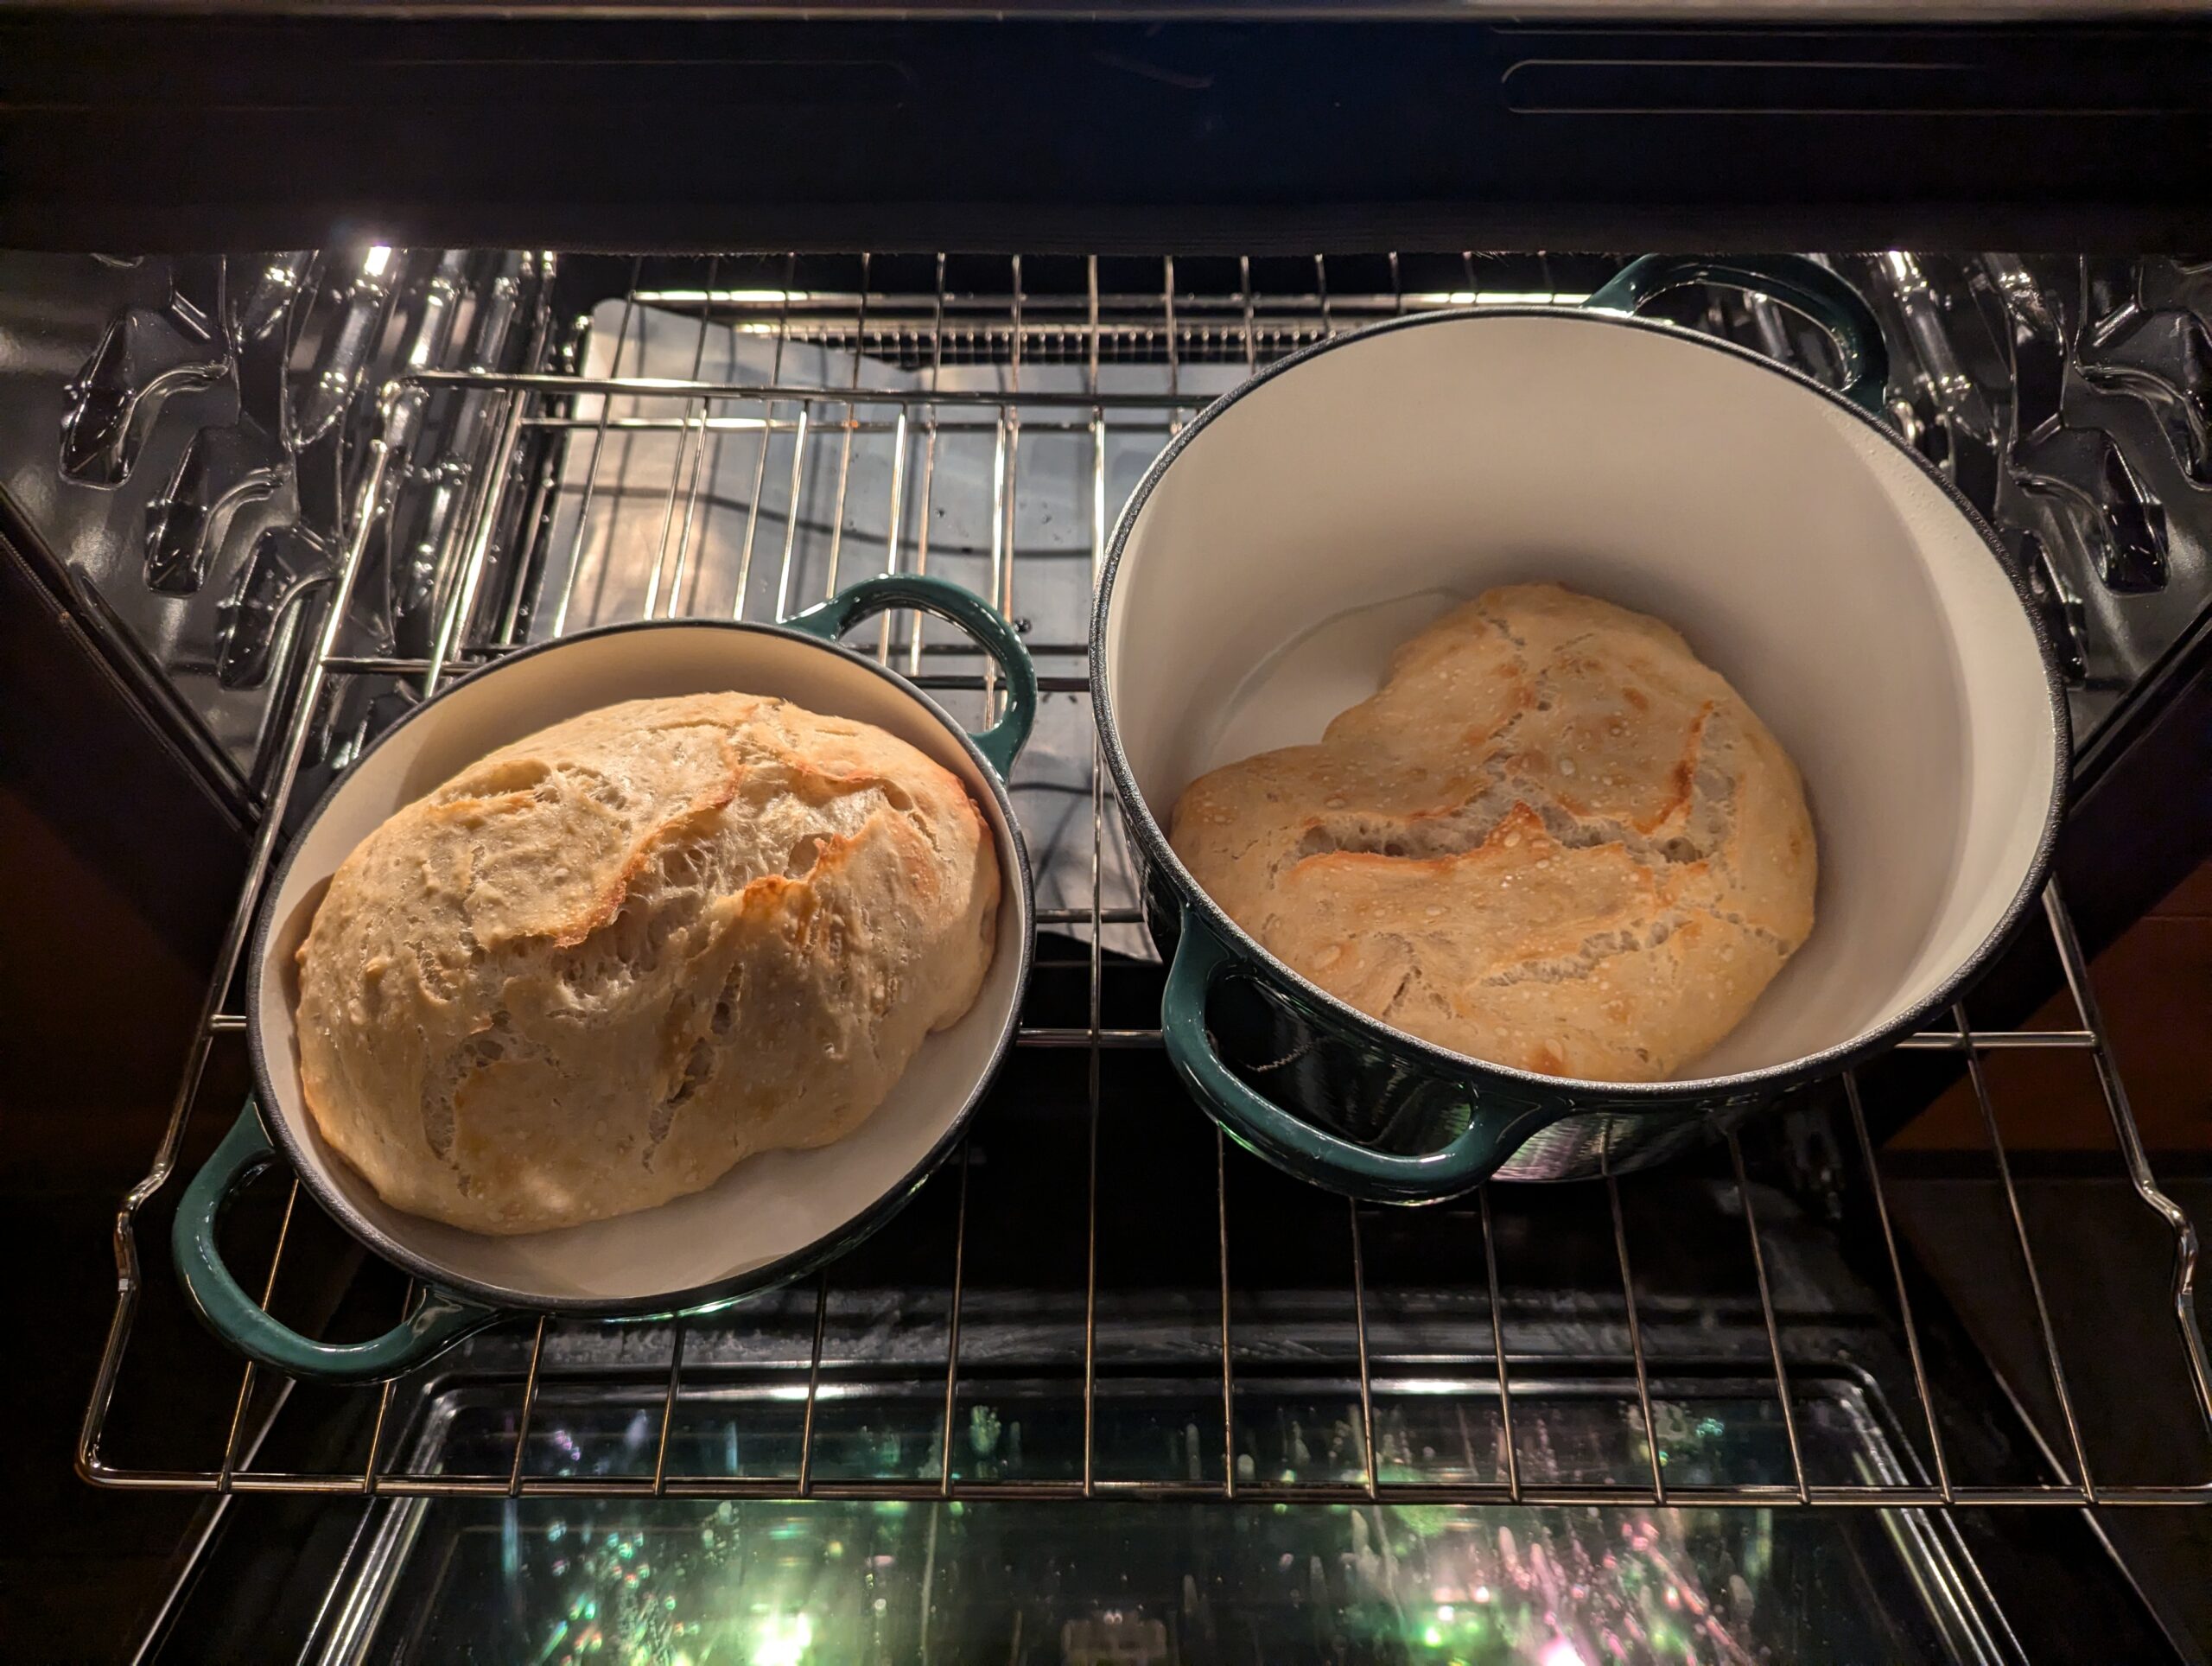
  19. Remove the lid and bake for another 40 minutes
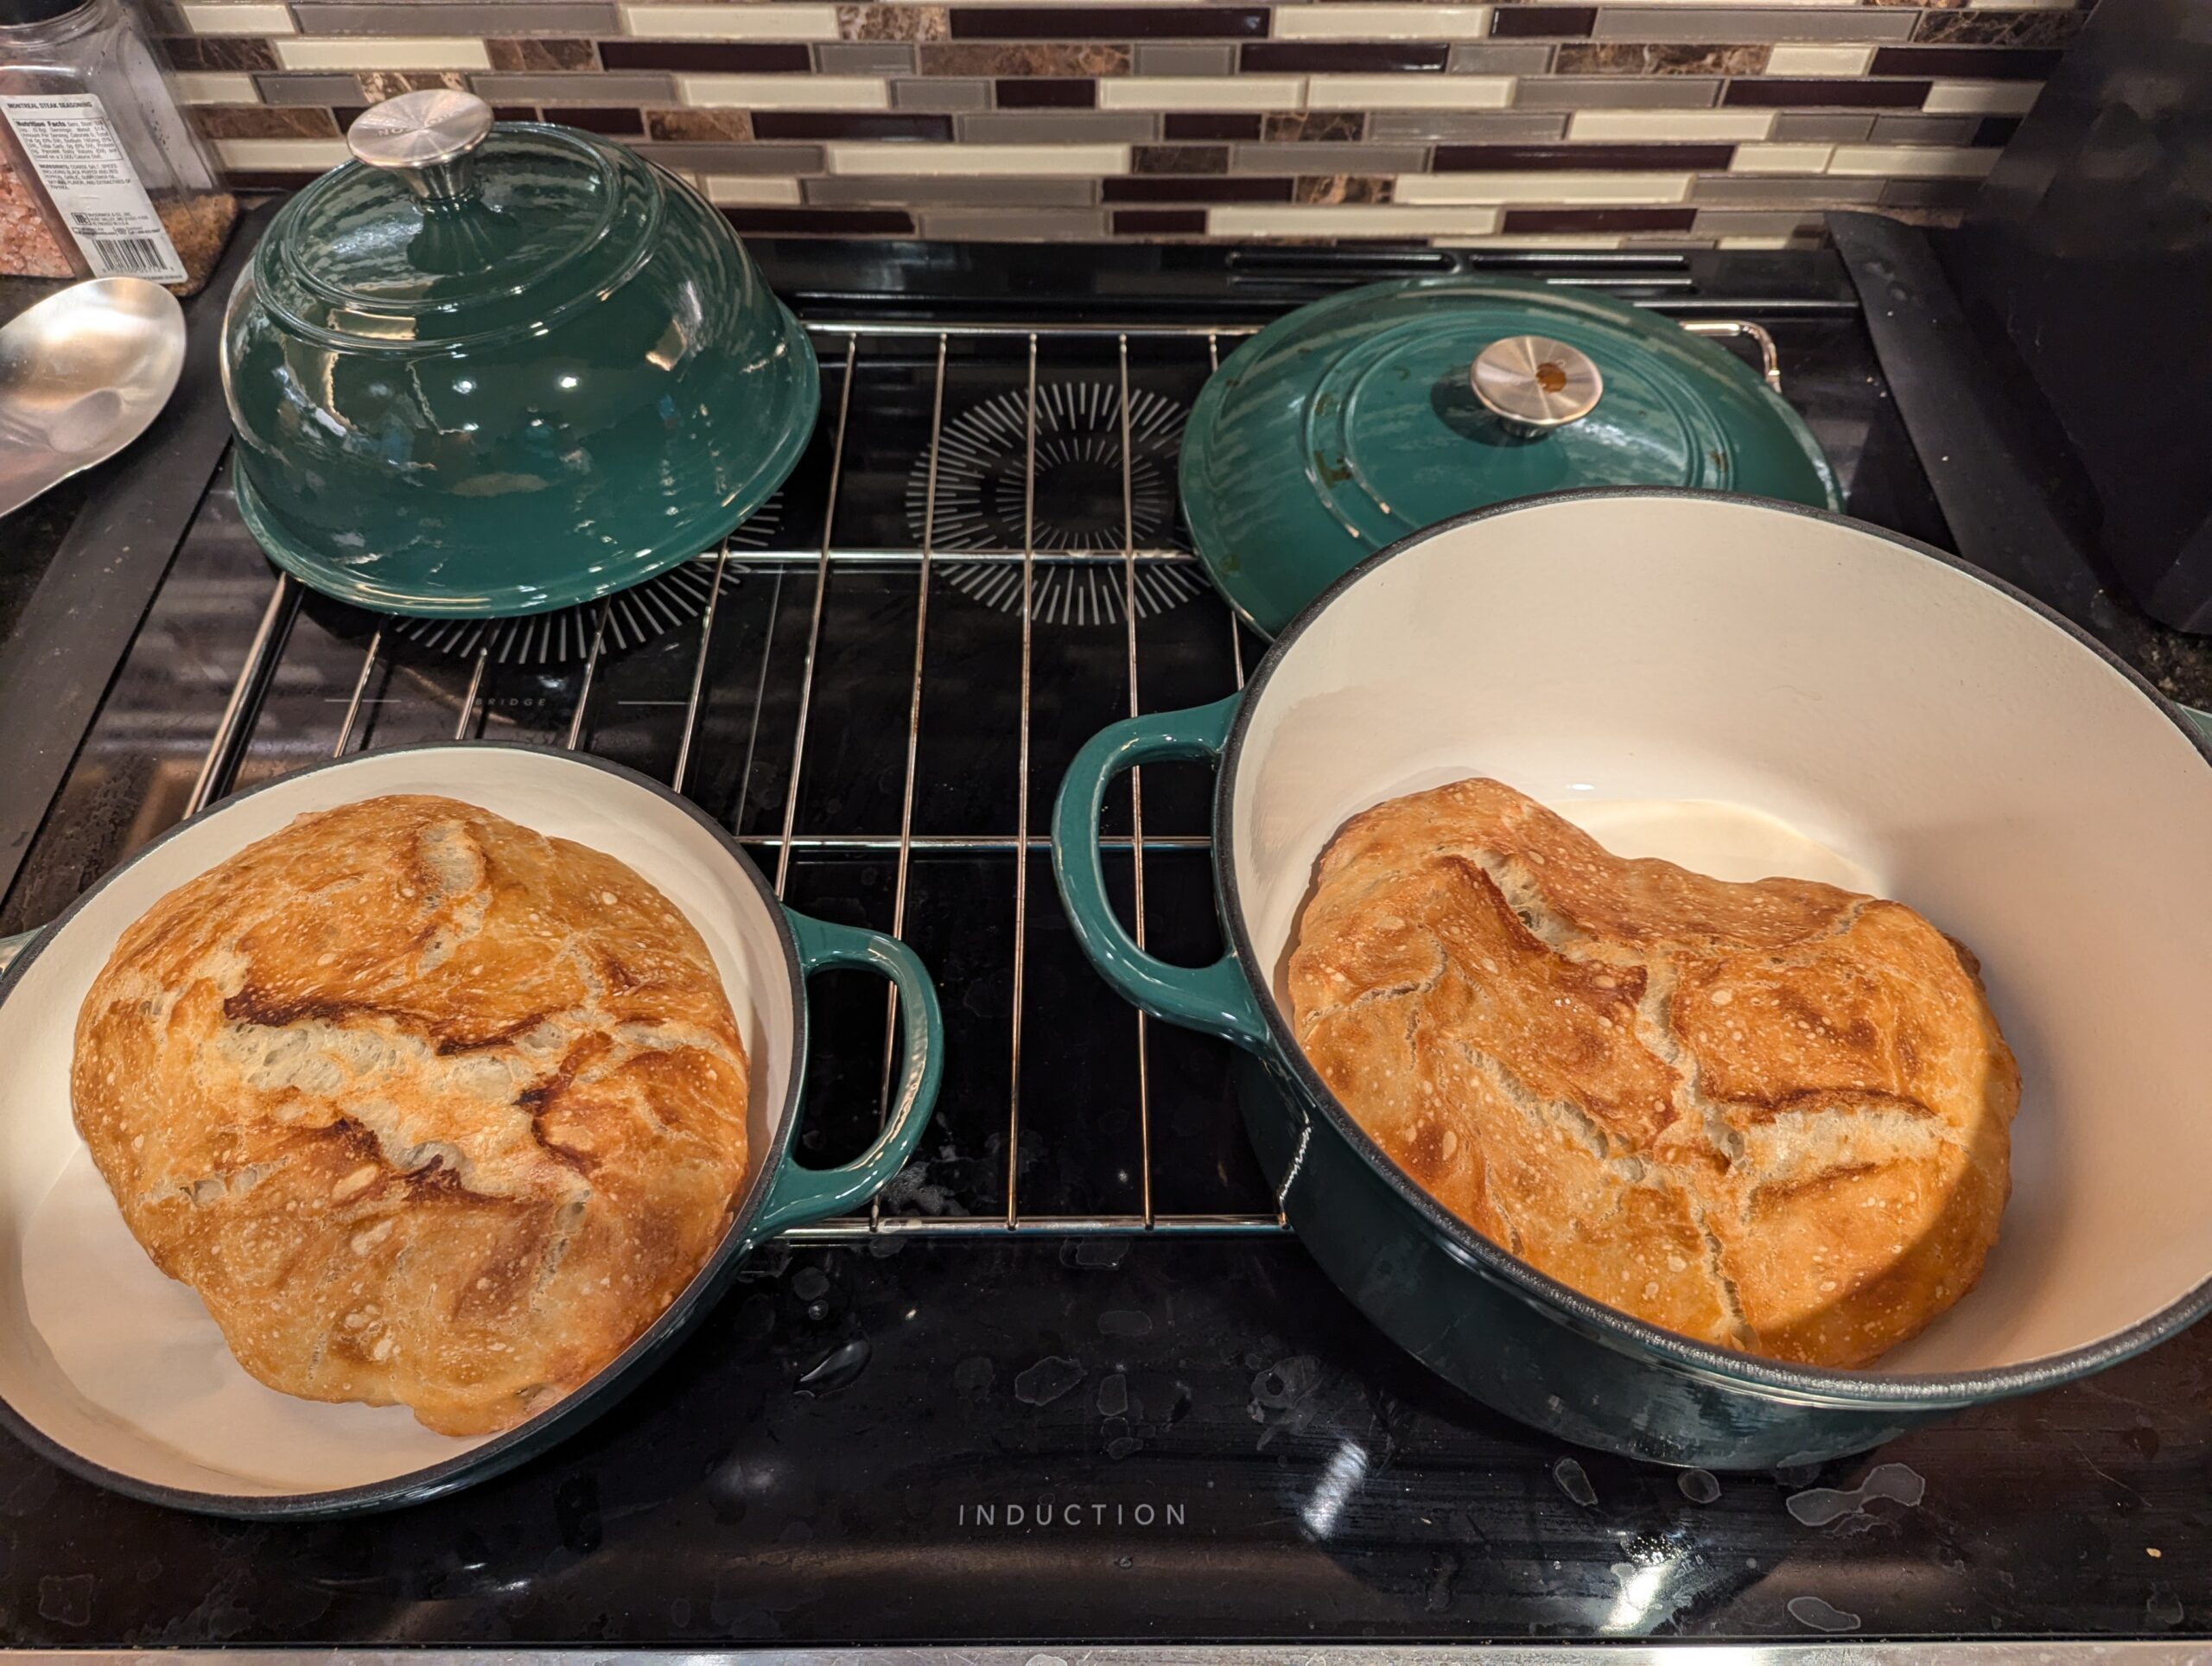
  20. If desired, bake the loaf directly on the oven rack for the last 10 minutes to produce a crispier crust
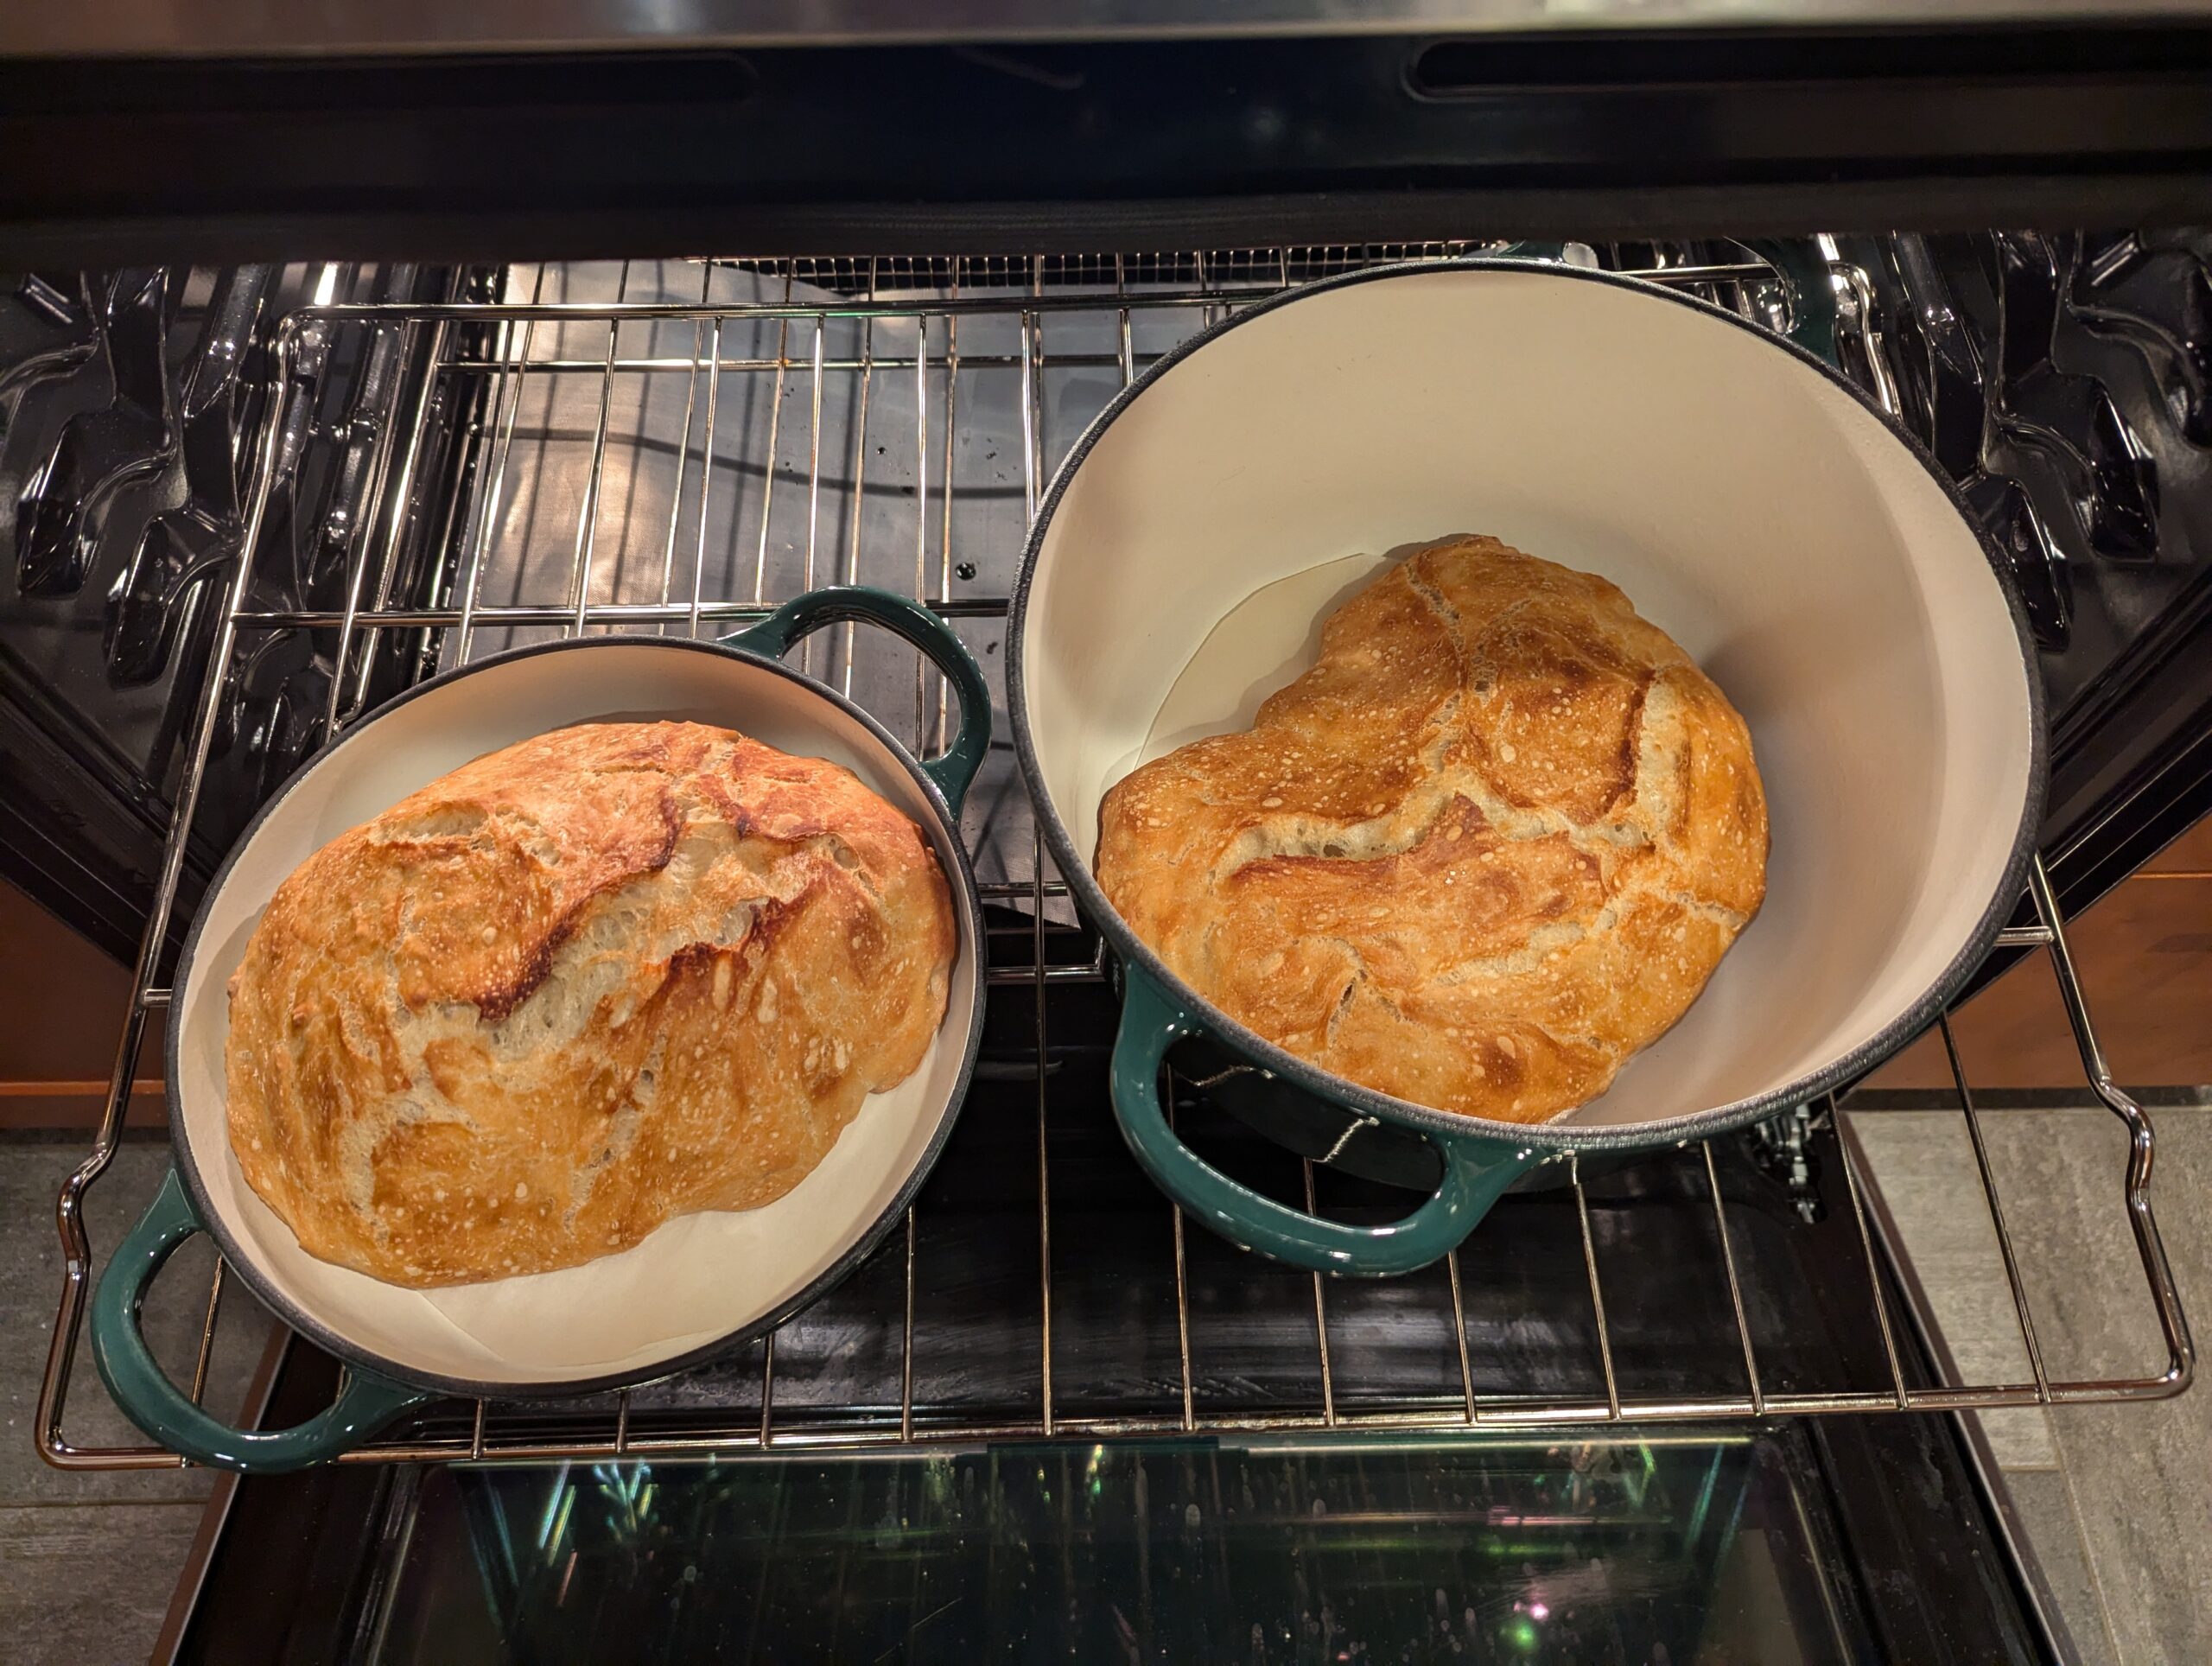
  21. Remove loaf immediately from pan and cool on a wire rack (so the bottom doesn’t get soggy) for at least an hour before serving

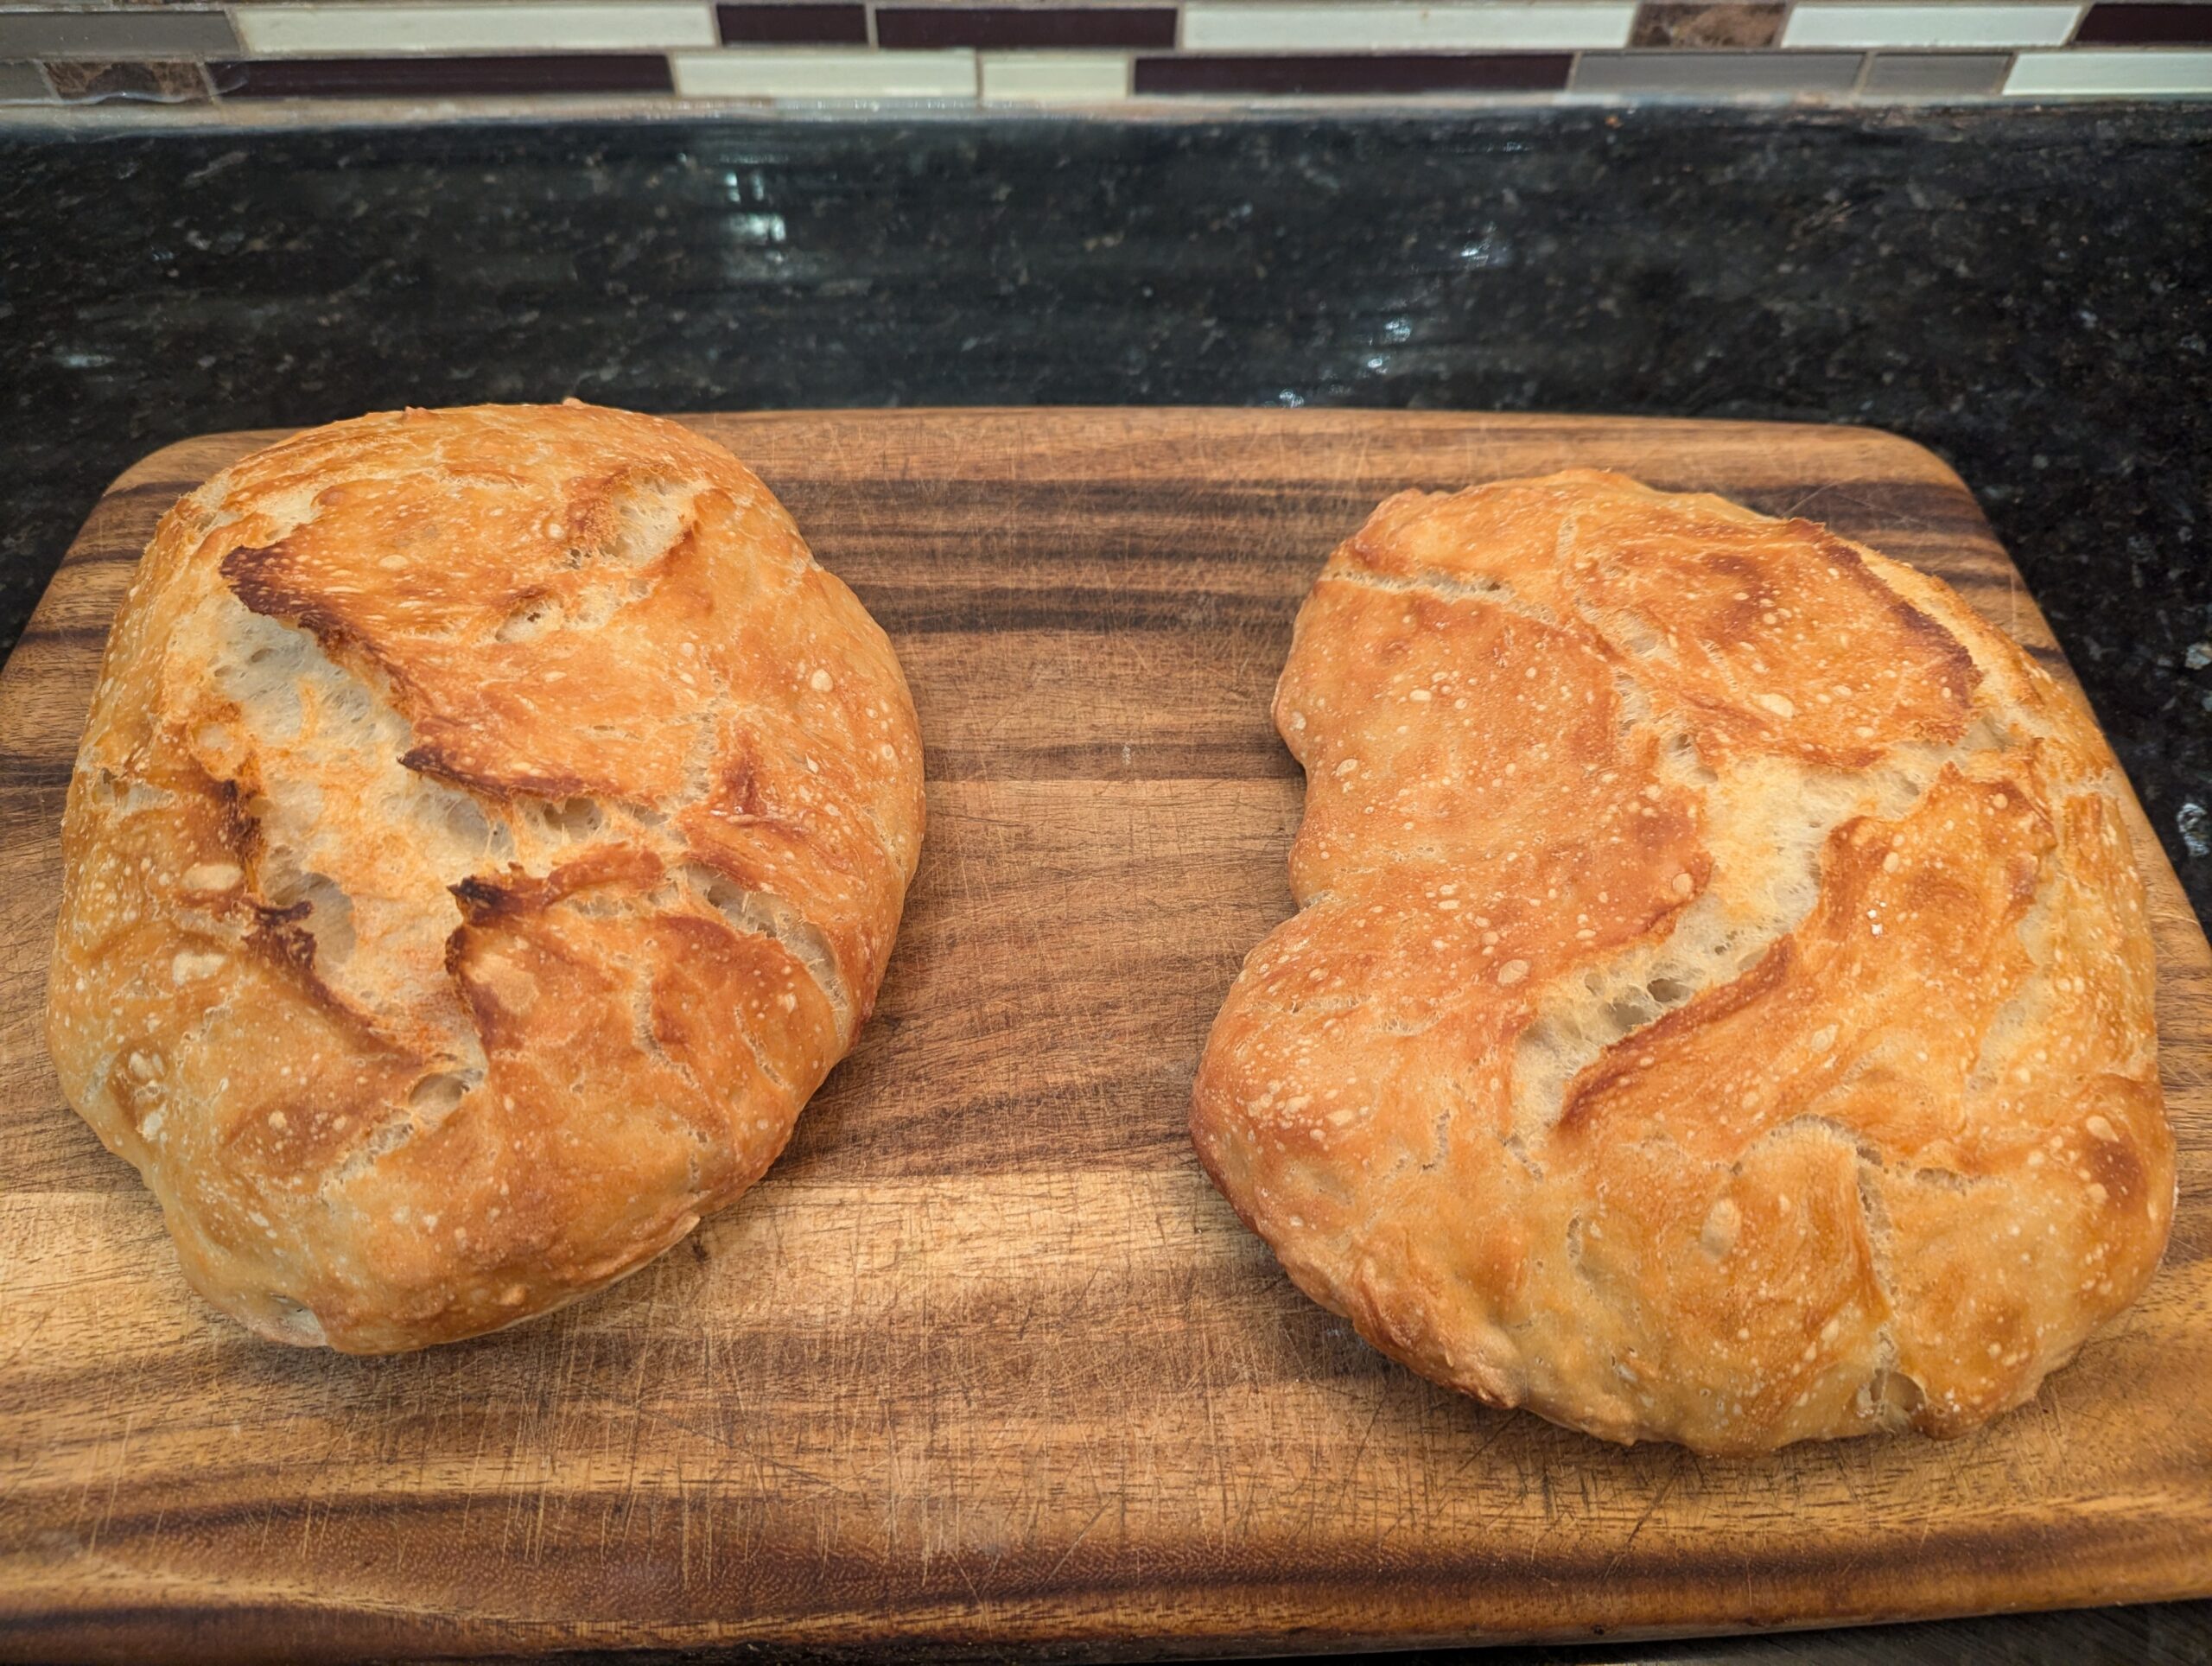
This may seem like a lot of steps, but most of them quickly become second nature. You can produce excellent loaf after excellent loaf with this technique.


Busting Sourdough Myths
Saturday April 19th 2025, 12:26 pm
Filed under: Recipes

I have long loved eating sourdough bread. A grilled cheese with sharp cheddar on sourdough is one of the best simple meals you can make. Who doesn’t like a nice loaf of fresh baked, crusty bread? I’ve made many loaves of yeast bread, but had always been too scared to make the jump to making my own sourdough, even though I’ve never been 100% happy with any of the crusty yeast breads I’ve made at home. But many of the things I thought about making sourdough bread just aren’t true.

Myth #1 Maintaining a Sourdough Starter is Hard

Yes, a sourdough starter is a living thing. Yes, it needs to be fed. But no, this thing is not a child or even a pet that requires hours of your time every week. First, the only equipment you need to keep a starter going is a scale that measures in grams, two mason jars with lids, flour, and water.

I keep my starter in the fridge. You can keep it there for weeks, without touching it and it will be fine. I’ve gone about three weeks without feeding, and at refrigerator temperatures, it had barely grown. If I know I’m going to bake the next day, I’ll pull the starter out of the fridge at night and let it sit on the counter, possibly feeding it before going to bed. It only needs an hour or two before it’s ready to be fed. You could also feed it in the morning, but then you’ll need to wait a few hours (depending on temperature) before baking. It’s ready when it’s nice and bubbly and doubled in size, roughly 4 hours at room temperature. After you pull the active starter you need for baking, you use more of the active starter to feed it again, put the rest in your discard container, and put the fed container back on the counter. An hour or two later, it goes back in the fridge until you’re ready to repeat.

Myth #2: Feeding A Starter is Hard

To actually feed the starter, start with a clean mason jar on your kitchen scale. Assuming you’re targeting having 90g or less of ripe starter for your next recipe, I use 50g the number for each of the ingredients (remember you’ll want about 1/3 of it to feed the next batch, if you are targeting the same starter size). So put your 50g of starter into the clean jar, followed by 25g of whole wheat flour, then 25g of white flour, and 50g of water. Mix it up, and you should have something resembling pancake batter. Put the lid on loosely, and I like to put a rubber band around the jar so I can easily tell when it’s doubled in size. One other tip: it’s easy to overdo the water, so I recommend measuring it in another container and then adding it to the starter.

You can use all white flour, but whole wheat has more nutrients and enzymes to help keep your starter healthy. I wouldn’t recommend doing all whole wheat though.

All your extra starter can be kept indefinitely in the fridge. I put it all together in a jar so I can use it for things like sourdough discard waffles (my new favorite waffle recipe). I use a mason jar with a solid lid so I can easily tell it apart.

Myth #3: Baking Sourdough Bread is Hard

I always assumed baking sourdough bread would be like making baguettes. It’s not. On a clock, it takes more time than a yeast bread, but most of the time is inactive. Most of the recipes take minutes to put together and then require only quick interventions over the next hours. Many of my better yeast bread recipes take an hour or more of work. Stay tuned for my favorite recipe to date.


Easy No Knead Bread in Aldi Bread Oven vs Aldi Dutch Oven
Saturday April 19th 2025, 11:36 am
Filed under: Recipes

One of the Aldi finds that usually shows up about once a year on the aisle of shame is various pieces of enameled cast iron cookware. I bought the 6qt stock pot and then later bought the bread oven. Both of them are late 2024 purchases.

Final result of the bread oven vs the dutch oven. Both were purchased in September 2024 at Aldi stores in the US.
Both bowls are much fuller, but the small one is nearly full after sitting for a bit over 12 hours. Note the bowls are on opposite sides in the previous picture.
Uncovered so you can see all the air bubbles in the bread.
Bread quickly shaped into balls, and covered to rest while the oven preheats for 30 minutes.
I placed a circle of parchment paper in each vessel, quickly dropped the dough on top, and covered it. Both are now covered and ready for the main bake.
They look good but are pale after 30 minutes, so they will now bake for another 7-15 minutes uncovered to get a nice golden crust.
Much-nicer-crust-Time-to-take-them-out-of-Easy-No-Knead-Aldi-Bread-vs-Dutch-Oven
Much nicer crust. Time to take them out of the oven.
Removed from oven. Now time to remove from the vessels so they don’t keep cooking from all the retained heat.
It was much easier to remove the loaf in the bread oven. The crumbs left behind shows it took a few attempts to get the dutch oven loaf out. I probably should have just dumped the pot on the counter.
Final loaves sitting on a cutting board. They ended up basically the same. Dutch oven could have baked a bigger loaf. Bread oven was much easier to remove (and lighter to handle). Since I have both, I’ll probably use the bread oven any time I bake a single loaf. If I had to buy one, I’d go with the dutch oven, which has also been great for deep frying when I don’t want to pull out the electric fryer.

The better shape on the bread oven loaf is probably half the result of filling the container fuller (no space for a gap) and probably half because I got a much neater transfer of that loaf into the vessel.

Recipe I used: https://www.thecomfortofcooking.com/2013/04/no-knead-crusty-artisan-bread.html